
Why Proper Curtain Track Installation Matters in B2B Projects
In B2B environments such as hotels, office buildings, apartments, hospitals, and public facilities, curtain track installation is not a minor finishing detail—it directly affects system durability, operational efficiency, and after-sales cost.
Improper installation often leads to:
- Track deformation under long-term load
- Noisy or stuck curtain movement
- Premature roller failure
- Increased maintenance and warranty claims
For contractors and project buyers, a standardized curtain track installation process reduces installation errors and ensures consistent performance across hundreds or even thousands of rooms.
This guide is written specifically for B2B buyers, installers, and project managers, focusing on professional measurement methods, mounting best practices, and common installation mistakes to avoid.
Curtain Track Installation Overview: What B2B Installers Need to Know
Before installation begins, it’s essential to understand the three key variables that determine installation success:
- Accurate measurements
- Correct mounting method
- Load and usage requirements
Curtain tracks used in commercial projects typically differ from residential-grade products in material thickness, load rating, and installation tolerance. Using residential installation logic for commercial tracks is one of the most common causes of failure.
Curtain Track Measurement Guide for Commercial Projects
1. Measuring Curtain Track Length Correctly
For B2B installations, track length should always be measured based on finished architectural dimensions, not rough openings.
Standard Measurement Rules
- Track length = window width + overlap allowance
- Recommended overlap allowance: 150–300 mm per side
- For blackout or hotel applications: minimum 200 mm overlap
Example:
Window width: 2000 mm
Recommended track length: 2400–2600 mm
2. Ceiling Height and Drop Clearance
Incorrect vertical measurement often causes curtains to drag or leave light gaps.
| Parameter | Recommended Value |
|---|---|
| Ceiling-to-track clearance | ≥50 mm |
| Curtain bottom clearance | 10–20 mm above floor |
| False ceiling recess depth | ≥120 mm |
3. Measuring for Curved or Corner Tracks
For curved curtain tracks:
- Use centerline measurement, not outer edge
- Minimum bending radius: ≥300 mm for aluminum tracks
- Tolerance allowance: ±2–3 mm per meter
For corner installations, allow an additional 50–80 mm for smooth carrier transition.
Mounting Methods: Ceiling vs Wall Installation
1. Ceiling-Mounted Curtain Track (Most Common in B2B)
Ceiling mounting is the preferred method for hotels, offices, and apartments due to its clean appearance and better load distribution.
Technical Parameters
| Item | Standard |
|---|---|
| Bracket spacing | 500–600 mm |
| Heavy curtain spacing | 300–400 mm |
| Fastener type | M5 expansion bolt or self-tapping screw |
| Minimum ceiling thickness | ≥30 mm (concrete) |
Key Tip:
Always install mounting brackets before final ceiling finishing in large projects.
2. Wall-Mounted Curtain Track
Wall mounting is used when ceiling mounting is not structurally feasible.
Installation Notes
- Bracket projection: ≥120 mm
- Wall load-bearing requirement: solid concrete or reinforced drywall
- Avoid mounting on hollow partitions without reinforcement
Wall-mounted systems are more prone to cantilever stress, so load calculations are critical.
Load Capacity and Technical Parameters (Often Ignored)
1. Track Load Rating
Commercial curtain tracks are rated by kg per meter, not total weight.
| Curtain Type | Recommended Track Load |
|---|---|
| Sheer curtains | 3–5 kg/m |
| Fabric curtains | 6–8 kg/m |
| Blackout curtains | 8–12 kg/m |
| Hotel layered curtains | ≥10 kg/m |
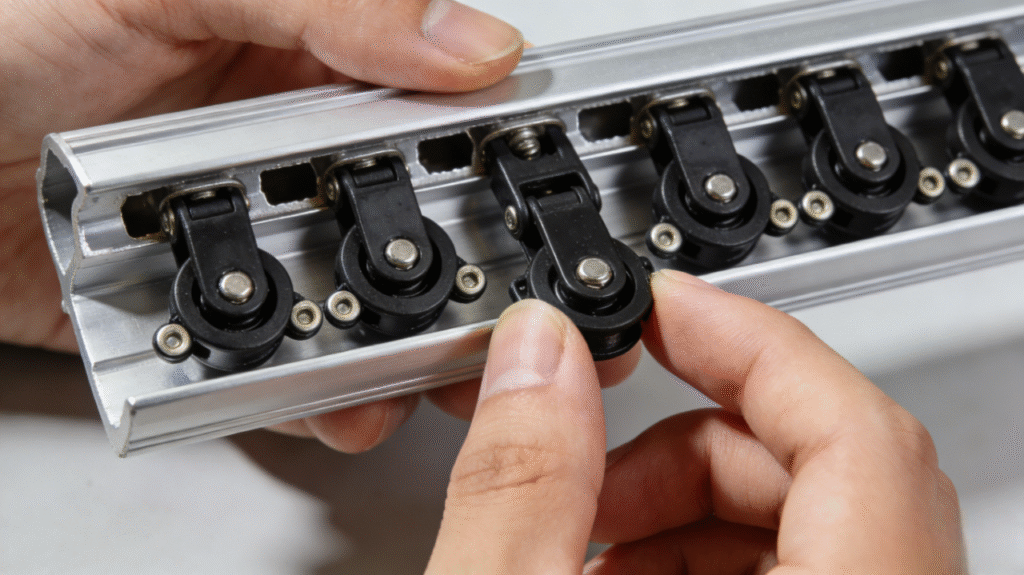
2. Roller and Carrier Spacing
Incorrect carrier spacing leads to uneven load distribution.
- Standard spacing: 80–100 mm
- Heavy fabric: 60–80 mm
- Wave curtain systems: manufacturer-specified spacing only
Motorized Curtain Track Installation Considerations
Motorized systems introduce electrical and alignment requirements that are often underestimated.
Key Technical Specs
| Parameter | Standard |
|---|---|
| Power supply | AC 110–240V or DC 24V |
| Max track deviation | ≤2 mm over 6 m |
| Noise level | ≤35 dB |
| Max single motor length | 8–12 m |
Installation Tips
- Motor position should allow easy access for maintenance
- Do not embed motors fully inside sealed ceilings
- Always test limit settings before curtain installation
Common Curtain Track Installation Mistakes (And How to Avoid Them)
Mistake 1: Insufficient Bracket Density
Result: Track sagging and roller damage.
Solution:
Follow load-based spacing, not visual estimation.
Mistake 2: Ignoring Thermal Expansion
Aluminum tracks expand approximately 1.5–2 mm per meter.
Solution:
Leave expansion gaps for tracks longer than 6 meters.
Mistake 3: Misaligned Ceiling Surface
Even a 3–4 mm ceiling deviation can cause curtain resistance.
Solution:
Use laser leveling during bracket installation.
Mistake 4: Incorrect Fasteners
Using plastic anchors in high-load applications is a frequent failure point.
Solution:
Specify metal expansion anchors for commercial projects.
Mistake 5: Installing Curtains Before Final Adjustment
Curtains installed too early hide alignment problems.
Solution:
Always perform dry-run testing with carriers only.
Quality Control Checklist for B2B Projects
Before handover, professional installers should verify:
- Track level deviation ≤2 mm
- Smooth carrier movement end-to-end
- No audible friction or vibration
- Secure fasteners with no play
- Motorized tracks tested under full load
This checklist significantly reduces post-installation service calls.
Conclusion: Installing Curtain Tracks for Long-Term Performance
Proper curtain track installation is essential for long-term durability, smooth operation, and reduced maintenance costs in B2B projects.
Accurate measurements, correct mounting methods, and attention to technical parameters ensure that curtain systems perform reliably under frequent commercial use. By avoiding common installation mistakes and following standardized procedures, contractors and buyers can significantly improve project quality and lifecycle value.
For commercial applications, installation quality is just as important as product quality—and both should be treated as strategic decisions.