
Installing pencil‑pleat curtains on a track is a common requirement in hotel rooms, apartments, serviced residences, conference centres and other B2B building projects. Doing it correctly ensures durability, aesthetic fullness, smooth operation, and hides the track cleanly — all essential for commercial standards. This guide outlines professional, step‑by‑step instructions including technical parameters, best practices, and common pitfalls.
1. Why Pencil Pleat Curtains + Track Systems Suit Commercial Projects
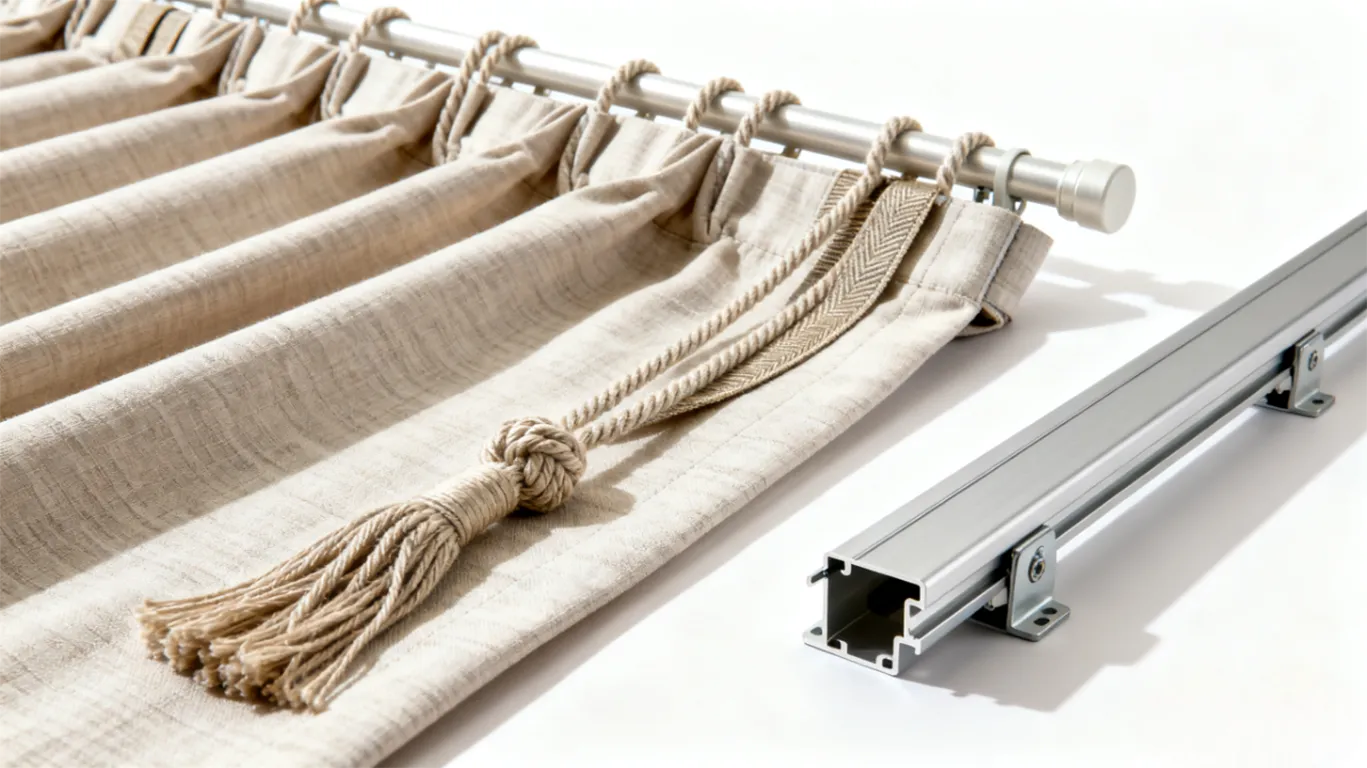
Pencil‑pleat curtains remain one of the most versatile heading styles for commercial installations, because:
- They provide adjustable fullness — you can “gather” them to suit window or track width.
- They hide the curtain track when hooks are inserted into the correct pocket on the heading tape.
- For large-scale projects (hotels, apartments, multi-room developments), track systems offer durability, smooth operation, and efficient installation compared with rod‑and‑ring systems.
Given the demands of B2B projects — multiple rooms, repeat installs, maintenance cycles — a standardized process ensures quality, repeatability, and brand consistency.
2. Pre‑Installation Preparations: Measurements, Tools & Curtain Prep
2.1 Measurements: Track Width & Curtain Fabric Requirements
Before hanging, you must have:
- The full length of the curtain track (from end‑stop to end‑stop, excluding wall brackets or finials)
- The drop (track top to desired curtain bottom: sill, floor, or puddle)
For pencil pleat curtains on track, the finished curtain width (when gathered) should typically be half the track width (per curtain panel). grahambrown.com+1
Additionally, standard fullness for pencil pleat curtains is often 200% of the track width (un-gathered fabric) for a rich drape.
Action Steps (B2B standard):
- Measure track width precisely — use a laser measure or steel tape (± 2 mm tolerance).
- For each curtain panel: target gathered width ≈ track_width / 2 + small overlap (5–10 cm) to avoid gaps at closure.
- Measure drop at three points (left, center, right) to account for floor or sill unevenness; choose the longest measurement to avoid curtains being too short.
2.2 Tools & Materials Checklist for Installers
- Pencil‑pleat curtains with heading tape and draw cords
- Correct number of curtain hooks (usually included)
- Measuring tape or laser measure
- Ladder or scaffold (for high ceilings)
- Curtain track already installed with gliders/runners & fixed end stops
- Soft gloves (optional, for smooth handling)
- Fabric weight or clip (optional) to hold curtain during hanging
2.3 Curtain Prep: Setting Pleats & Hook Insertion
Before you hang the curtains:
- Lay curtain panel face‑down on a clean flat surface — heading tape visible.
- On one side of the header tape, tie the draw cords together — this prevents them from slipping when you pull the other side to gather.
- From the other side, pull all cords evenly until the gathered width matches the target (approx. half track width per panel + overlap).
- Once gathered correctly, tie the cords securely (but don’t cut) and tuck excess cords inside the heading tape / cord pocket.
This ensures consistent pleats, avoids sagging or loose pleats later, and makes hooking on much easier.
3. Hook Placement & Hanging on Track: Step‑by‑Step
3.1 Choosing the Correct Pocket Row for Hooks
Pencil pleat heading tape normally offers three rows of pockets for hooks. The choice depends on whether you’re using a rod or a track. For track installations, you typically place hooks in the middle or lower pocket rows so the heading folds properly and hides the track hardware.
3.2 Hook Spacing & End Hooks
- Place a hook at each outer edge of the curtain panel (left and right) — this secures the panel so it doesn’t shift or gap when drawn.
- For the rest of the panel, a common rule is 1 hook every 8–12 cm (approx. every 3–5 pleats) depending on fabric weight and fullness required.
This spacing ensures even drape and avoids overloading individual gliders on the track.
3.3 Hanging Sequence
- Start from one side (often the “master control side” if track has cord draw), hook that curtain panel first.
- Attach hooks into gliders / runners on the track. For overlapping pairs, hang both panels.
- Ensure final hook is attached to the fixed end‑stop glider — important so curtains don’t slip off when opened/closed.
- Distribute the fabric evenly across hooks and smooth out pleats by hand.
3.4 Final Adjustment & Pleat Dressing
Once hung:
- Stand back, draw the curtains closed, check for even fullness and proper overlap.
- Adjust pleats manually: gently pull each fold into place, aligning evenly top to bottom.
- It’s common that pleats look slightly crumpled initially — after a few days of hanging, fabric “settles” and folds tighten naturally.
For heavier fabrics or blackout drapes, consider wet‑pressing or steam‑pressing before installation to ensure neat pleats long-term (especially in hotel and contract use where appearance matters).
4. Technical & Quality-Control Considerations for B2B Projects
For commercial projects, especially hotels / serviced apartments / multi-room developments, following technical standards ensures installation quality and longevity.
4.1 Load & Wear Considerations
- Pencil‑pleat curtains, especially blackout / lined / heavy fabrics, may weigh 6–10 kg per panel (depending on width and fabric density).
- Ensure the track system used has sufficient glider load rating (typical commercial tracks support 15–25 kg per meter when properly bracketed and installed).
- Use fixed end‑stop gliders at ends to prevent curtains sliding beyond the track and potentially derailing.
4.2 Pleat Tape & Hook System Quality
- Heading tape quality matters — choose reinforced tape with heavy-duty stitching if curtains will endure frequent draw cycles (common in hospitality).
- Hooks should be metal or industrial-grade plastic rather than light consumer-grade hooks.
4.3 Installation Tolerances & Maintenance
- Ensure hooks are evenly spaced and height consistency maintained — misalignment > 5 mm across curtain width can cause uneven drape and fabric strain.
- Recommend periodic inspection and re-tightening for multi‑unit buildings / apartments, especially after first few draw cycles.
- For long-term fade / wear prevention: dry-clean curtains periodically, avoid harsh detergents, and ensure track gliders are free from dust.
5. Common Pitfalls & How to Avoid Them
| Issue | Cause | Solution |
|---|---|---|
| Curtain top reveals track or looks uneven | Hooks placed too high or in wrong pocket row | Use middle/lower pocket row for track installations Voyage Maison+1 |
| Uneven pleats, fabric bunching | Cords pulled unevenly; hooks unevenly spaced | Pull cords evenly, tie securely, space hooks evenly every 8–12 cm |
| Curtains slip off track when opened | End glider missing or not a fixed stop | Always use fixed end‑stop glider at each end curtainsmadesimple.co.uk+1 |
| Heavy curtain sags / gliders struggle | Track/glider load rating insufficient | Use commercial-grade track rated for heavier load; distribute hooks evenly; avoid overfilling a single glider |