
Installing a curtain track system for commercial environments—whether a hotel, serviced apartment, office, showroom, or large residential project—requires a combination of structural understanding, load-bearing evaluation, precision measurements, and hardware compatibility. Unlike DIY home installations, B2B scenarios demand higher reliability, longer lifecycle, and efficient installation workflows to reduce labor cost and post-installation maintenance.
This guide provides a step-by-step, professional method for installing a curtain track system. It includes technical parameters, specification notes, B-side long-tail keywords, and industry best practices aligned with commercial construction standards.
1. Understanding Curtain Track Types for Commercial Use
Before installation, selecting the correct track type ensures long-term stability and optimal curtain performance.
1.1 Common Commercial Curtain Track Types
| Track Type | Features | Best For |
|---|---|---|
| Aluminum Single Track | Lightweight, cost-efficient, anodized or powder-coated | Hotels, apartments |
| Double Curtain Track | Supports sheer + blackout system | Hospitality, meeting rooms |
| Heavy-Duty Track (2.0–2.5 mm wall thickness) | Load capacity 18–35 kg per meter depending on alloy grade | Stage curtains, tall windows |
| Recessed Ceiling Track | Minimalist look, concealed finishing | High-end residential & luxury hotels |
| Motorized Curtain Track | Supports IoT, smart systems, RF/RTS integration | Smart hotels & premium projects |
Core B2B keywords included: commercial curtain track system, heavy-duty curtain track, hotel curtain track installation, aluminum curtain rail, architectural curtain system.
2. Tools & Materials Required
To ensure a smooth installation, prepare:
- Electric drill with 6–10 mm masonry or wood drill bits
- Laser level or digital inclinometer
- Stud finder
- Phillips screwdriver & hex wrench
- Aluminum curtain track (cut to size)
- Mounting brackets (ceiling or wall)
- 4 x 30 mm / 4 x 40 mm screws (for wood)
- Ø6 mm expansion anchors or metal toggle bolts (for plasterboard)
- End caps, gliders, carriers, and joiners
- Measuring tape (±1 mm precision recommended)
Technical note for B2B installers:
For curtain loads over 8 kg/m, use reinforced aluminum profiles with ≥ 6063-T5 alloy to avoid deflection.
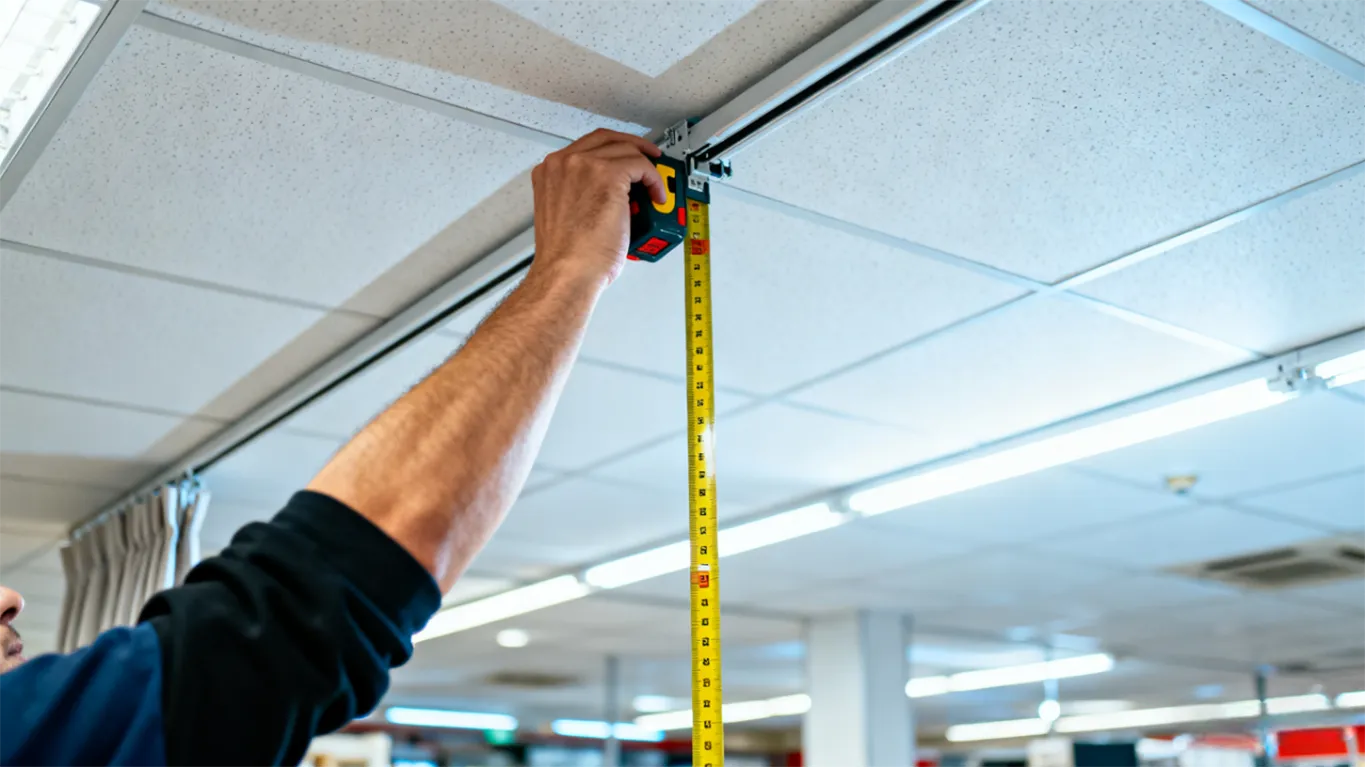
3. Measuring the Installation Area (Accuracy Guidelines)
Accurate measurement is one of the most critical steps in large-volume commercial curtain track installations.
3.1 How to Measure Window Width
- Measure at three points: top, middle, and bottom.
- Take the widest measurement as the baseline.
3.2 Recommended Track Overhang
For commercial blackout requirements:
- Add 150–200 mm on each side of the window
- Add 80–120 mm above the window frame
This prevents light leakage and ensures proper curtain stacking.
3.3 Ceiling-Mounted Tracks
If installing directly to concrete or gypsum ceiling:
- Verify ceiling flatness tolerance ≤ 3 mm per meter
- Use a laser level to project a straight reference line
4. Step-by-Step Curtain Track Installation
Step 1: Mark the Mounting Positions
Use a laser level to align bracket marks horizontally.
For B2B builds (hotels, apartments, offices), standard spacing is:
- Ceiling installation: 40–50 cm between brackets
- Wall installation: 50–70 cm depending on load
Long curtain drop (>3 m): reduce spacing to ≤ 40 cm for stability.
Step 2: Drill Holes & Insert Anchors
Depending on the substrate:
| Surface Type | Recommended Anchor | Drill Bit |
|---|---|---|
| Concrete | Ø6–8 mm expansion anchor | Ø6–8 mm |
| Gypsum board | Metal toggle bolts (minimum tensile load 25 kg) | Ø13 mm |
| Solid wood | Direct screw fixing | Ø3 mm pilot hole |
B2B technical keyword: load-bearing curtain track installation, commercial wall anchors.
Step 3: Install Mounting Brackets
Fasten brackets securely to ensure:
- Bracket tolerance deviation < 2 mm
- No vertical wobble after tightening
For heavy-duty tracks, choose brackets with 2.0 mm steel plate or aluminum alloy supports.
Step 4: Attach the Curtain Track
Cut the track using a fine-tooth saw.
For ultra-smooth glider movement:
- Deburr track edges using 600–800 grit sandpaper
- Align joiners perfectly to avoid glider blockage
Secure the track by snapping or screwing it into the brackets according to the manufacturer’s system.
Step 5: Install Gliders, End Caps & Curtains
Insert gliders every:
- 8–12 cm for regular curtains
- 5–8 cm for blackout or weighted fabrics
Install end caps to prevent gliders from sliding out.
Step 6: Final Adjustment & Testing
Check:
- Whether the curtain moves smoothly without resistance
- Track alignment using a laser
- No light leakage for blackout setups
- All brackets fully tightened
For motorized tracks, test:
5. Best Practices for B2B Curtain Track Installation
5.1 Minimize Maintenance
- Choose tracks with nylon or POM gliders for commercial durability
- Apply silicone-based lubricant annually
- Select powder-coated aluminum to resist corrosion
5.2 Project Logistics Recommendations
For mass installation:
- Pre-cut tracks off-site
- Pre-label rooms with QR codes
- Use standard hardware kits to reduce labor time by 15–30%
5.3 Quality Control Checklist
- Each track must withstand ≥ 20 kg static load during inspection
- Deflection (<2 mm per meter) under load is acceptable for 6063-T5 alloy
- Motorized tracks require soft-start/soft-stop testing
6. Common Issues & Professional Troubleshooting
6.1 Track Sagging
Cause: Low-grade aluminum, large span, insufficient brackets
Fix:
- Add intermediate bracket
- Upgrade to thicker 1.3–1.6 mm aluminum wall
6.2 Noise During Operation
Cause: Poor rail finishing or low-quality gliders
Fix:
- Replace with POM low-friction rollers
- Deburr interior rail edges
6.3 Curtains Not Closing Fully
Cause: Track misalignment or bracket installation height difference
Fix:
- Re-level using laser
- Adjust bracket positions within 2 mm tolerance